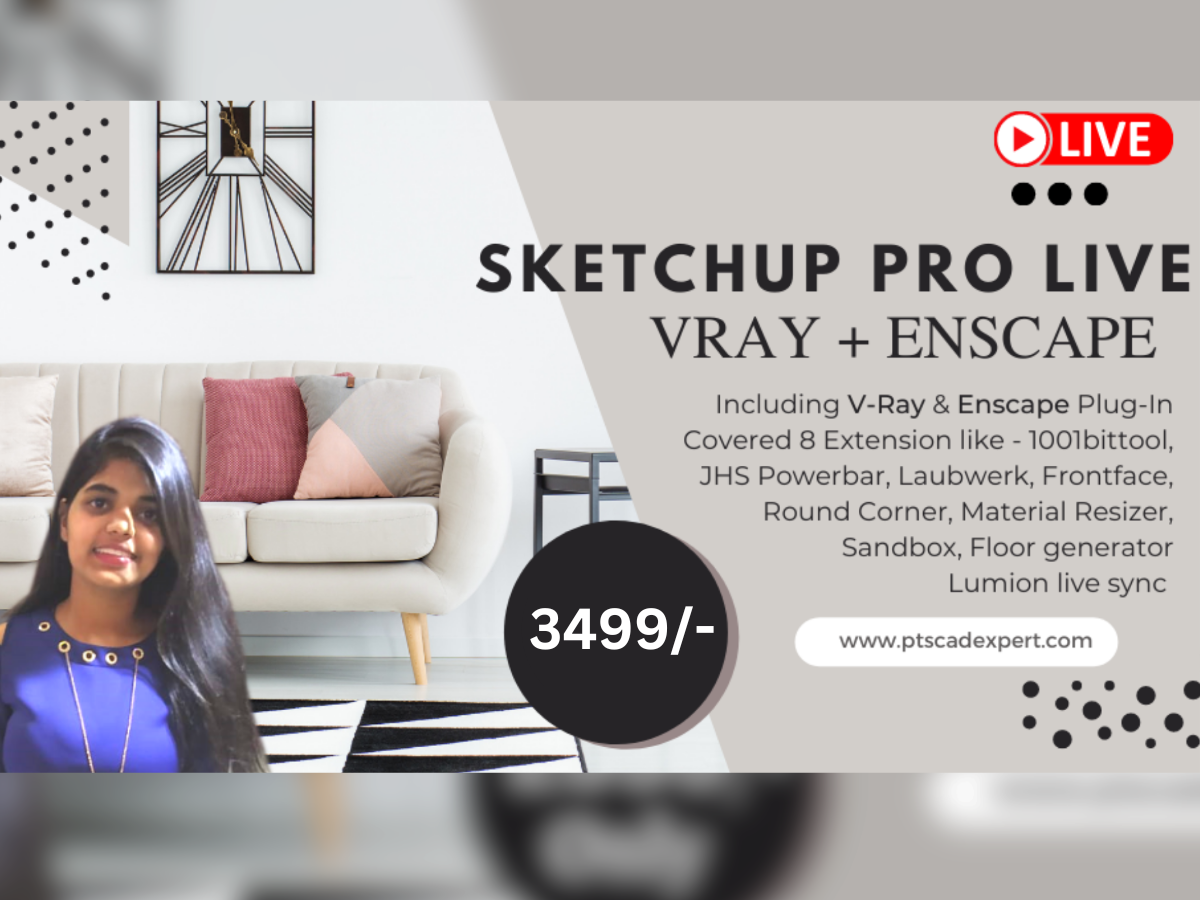
SketchUp Pro LIVE Course with V-Ray Advance & Enscape

₹2,999
₹36,000
Choose Currency:
Description
Professional Diploma in Sketchup LIVE Course with V-Ray Advanced & Enscape
What we'll cover in this Course -
1. Complete SketchUp (Professional Level)
2. V-Ray Plug-In (Advance)
3. Enscape Plug-In
4. Also, We'll cover more than 20+ Extension like-
1001bittool
JHS Powerbar
Laubwerk
Frontface
Round Corner
Material Resizer
Sandbox
Floor generator
Lumion live sync etc.
5. Final Project Submission - Interior & Exterior
Layout Preparation
6. (SketchUp Layout) Printing Sheet
7. (Style Builder) Enable you to create sketchy edge styles from your own images.
Tips & Tricks
After Complete Also you will get -
1. 3 Executed Working Projects Files (40+ Wokings Drawings)
2. 800/- Worth Components free for Sketchup
3. 1000 (Approx) House 2D Drawings with 3D Image)
4. Lifetime Software Support from PTS CAD EXPERT
5. Free Workshop on Latest Updates
6. Lifetime Videos Access
7. SketchUp Digital Books
8. Industrial Updates
9. Software Installation Support
10. Certification (Authentic ISO Certification)
11. Covered Complete Interior Project Live
12. Covered Complete Exterior Project Live
13. Complete Project Execution Live
Introduction about Sketchup
Getting Started with SketchUp
Template Selection
GUI of Sketchup
Mouse Control & SketchUp Preferences
Toolbars Customization & Managing Trays
Creating, Saving, and Opening a Model
Importing Different Types of Files into SketchUp
Axes
Inference: Concept of Inference, Inference Locking
Drawing Line Entity: Constructing a surface, Dividing
a face and joining faces
Drawing a Rectangle Entity, Drawing a Rotated Entity
Drawing a Circle Entity, Drawing an Ellipse, Drawing
a Polygon Entity
Drawing an Arc: Arc, 2point Arc, 3 point Arc, Pie Tool
Drawing a Freehand Shapes
Selection of an object: Selecting multiple entities
Editing Shapes Using Entity Info Option
Pushing and Pulling Shapes into 3D
Moving Entities around
Copying Geometry: Copying and Multiplying
Geometry with the Move Tool, Rotating copies
around an Axis.
Undo Recent Task & Eraser Tool.
Offsetting Line from an Existing Geometry.
Practice Model-1
Practice Model -2
Dividing, Splitting, Exploding Lines and faces.
Flipping, Mirroring and Rotating.
Scaling a model: Tape Measure Tool, Scale Tool,
Stretching Geometry using Scale tool
Extruding with follow me: Automatic, Manual and
modeling Revolved shape
Soften / Smooth Edges of Geometry & Hiding
Geometry
Practice on Project - 3
Tape Measure Tool: Measuring Distance / Create
guides
Protractor Tool: Measuring an Angle
Editing Guidelines, Adding Text
Dimension Tool, Estimating Building Height
Accurately
Match Photo
Practice on Project - 4
Getting Started with Components
Creating a Component
Editing a Component
Making Dynamic Component: Adding Attributes,
Defining Attribute Values and testing
Inserting, Replacing and Interacting with dynamic
Component
Searching for Component
Interior Designing Part - 1
Adjusting a component’s insertion point, Editing
Component
Grouping Geometry, Working with Hierarchies in the
outliners
Renaming groups and components, Finding groups
and components, identifying a group /
component’s status, restructuring a model’s
hierarchy
Controlling visibility with layers
Interior Designing Part - 2
Viewing a Model : Camera, Changing the view or
focal length
Sections : To place a Section Planes, Showing /
Hiding Section Planes, Cuts & Fills and Exporting
Section Cut effects
Scenes : Adding a Scene, Managing Properties Saved
with Scenes and Animating Scenes
Styles : Editing styles, Style Editing options,
Managing In-Model Styles & Collections, Sharing
styles, adding fog effect to model and applying
shadows.
Applying Materials & Textures : Adding Colors and
Textures with materials, Applying Materials,
Replacing one material with another, Editing
Materials-Editing Options, calculating Material Area,
Managing and organizing materials and Creating a
new material
Applying Textures, Adding Geographic location from
Google Map
Layouts : Creating a LayOut Document, Choosing a
Template in the Getting Started Dialog,
Modifying Paper and Unit Settings, Inserting a SketchUp
Model, Adding Texts, Labels and
Dimensions and Marking Dimensions and Presenting a
SketchUp Model.
Scroll (Mouse wheel)
Move camera forward or backward
Press (Mouse wheel)
Move camera sideways, upwards or downwards
Left mouse button
Rotate camera
Left mouse button – double click
Teleport to cursor position
Right mouse button
Hold right mouse button to orbit around cursor position
Q
Move camera downwards while in FlyMode
E
Move camera upwards while in FlyMode
W / Up Arrow
Move camera forward
S / Down Arrow
Move camera backwards
A / Left Arrow
NumPad 4
Left View (set direction of view to project east)
NumPad 6
Right View (set direction of view to project west)
NumPad 0
Return to the currently selected Named View
Move camera to the left
D / Right Arrow
Move camera to the right
SPACE
Toggle between FlyMode and WalkMode
SHIFT
Move camera fast
CTRL
Move came
Loading...